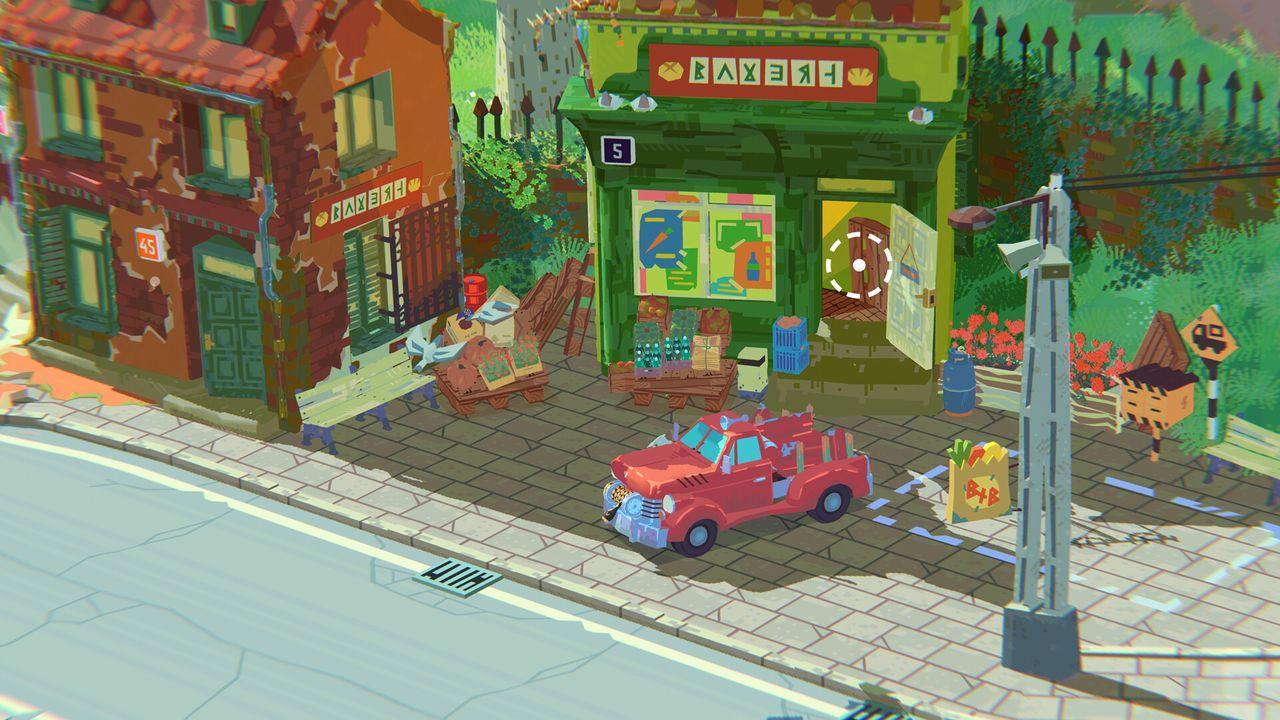
Truck upgrades
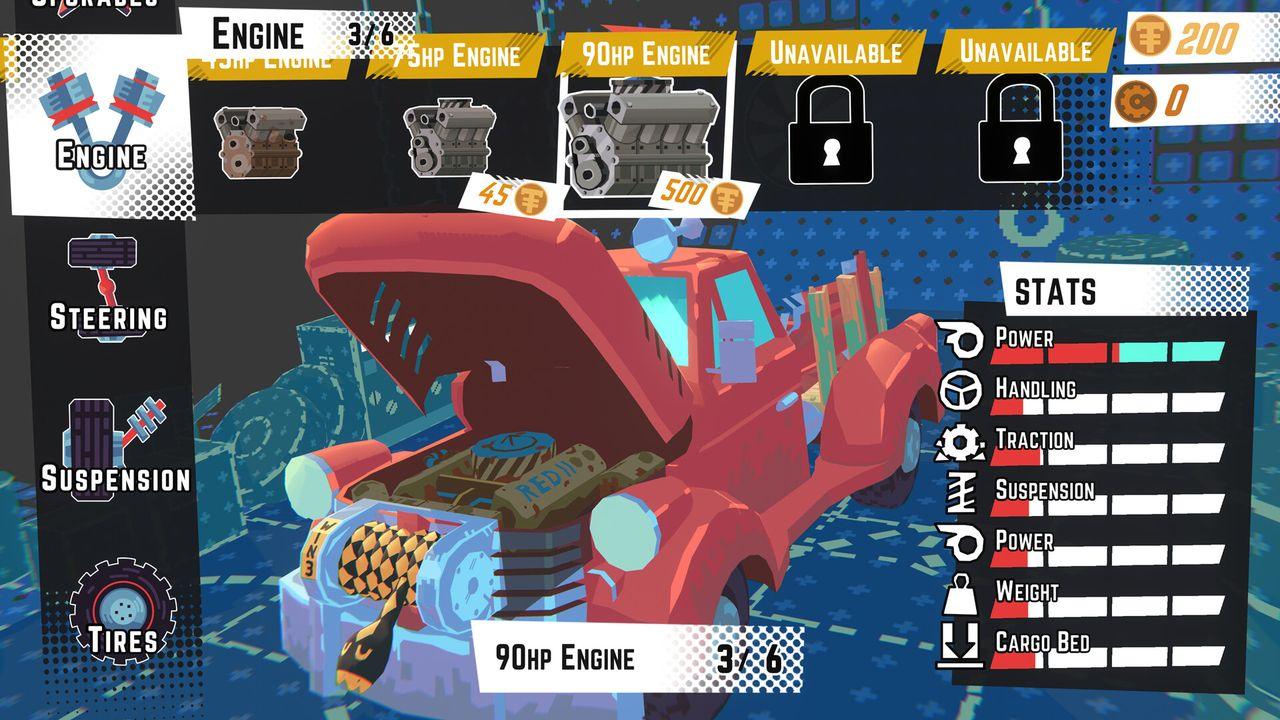
Confirmed upgrades: higher cargo capacity, better handling and mobility, paint jobs, boosters, sticky cargo, and a snorkel for water crossings. MythicOwl says they can be taken in any order, so buy what your worst delivery actually needs.
What is actually confirmed
MythicOwl's pre-launch FAQ lists the upgrade categories in one answer, which is the only detailed list published so far. The wording: upgrades "improve performance and unlock new traversal possibilities", including increased cargo capacity, better handling and mobility, cosmetic paint jobs, and special equipment — boosters, sticky cargo and a water-crossing upgrade (the studio writes it "snorkle").
| Upgrade | Category | What it does for you |
|---|---|---|
| Cargo capacity | Utility | Bigger bed — more jobs per trip, but more weight and stack height to manage |
| Handling & mobility | Driving | Better grip and steering response; pays off on every route |
| Paint jobs | Cosmetic | Multiple paint colours, earned rather than bought with real money |
| Boosters | Special equipment | Speed where you otherwise cannot get it |
| Sticky cargo | Special equipment | Keeps the load from sliding in the bed |
| Snorkel | Special equipment | Water crossings: marsh, wetland and flooded-track routes |
Two more things are confirmed about the upgrade system as a whole:
- Upgrades are earned through exploration and missions, not bought with a separate premium currency.
- The studio explicitly says players can take upgrades in whatever order they prefer — there is no forced tree.
The order most players should take them in
The FAQ says any order works, and that is honest — nothing gates you out. But the value of each upgrade is not equal, because of how the game punishes mistakes.
- Handling and mobility first. Grip and stability apply on 100% of routes, including the ones you have already driven. Speed applies on timed jobs only and amplifies every cargo-physics failure.
- Sticky cargo before capacity. A bigger bed with a sliding load is a bigger problem. Sticky cargo turns the bed from a tray into a surface that holds, and it is the direct answer to the "my crates moved" complaint.
- Capacity third. Only when your routes are clean. Extra room is also extra weight, which changes braking and cornering in ways the earlier upgrades were compensating for.
- Snorkel as soon as water is on the map. It is a route opener rather than a stat — it converts a wall into a road. Take it the moment you find a crossing you cannot make.
- Boosters last of the practical ones. Speed is for timed deliveries. Buy it once you can already deliver fragile cargo intact.
- Paint jobs whenever you like. Purely cosmetic, no effect on handling.
Colors, ornaments and stickers
Colors and paint jobs are confirmed. The FAQ says ornaments and stickers are planned rather than shipped — treat them as a roadmap item, not a launch feature. The studio's framing is that "your truck gradually becomes your own signature vehicle".
What the upgrades are paid with
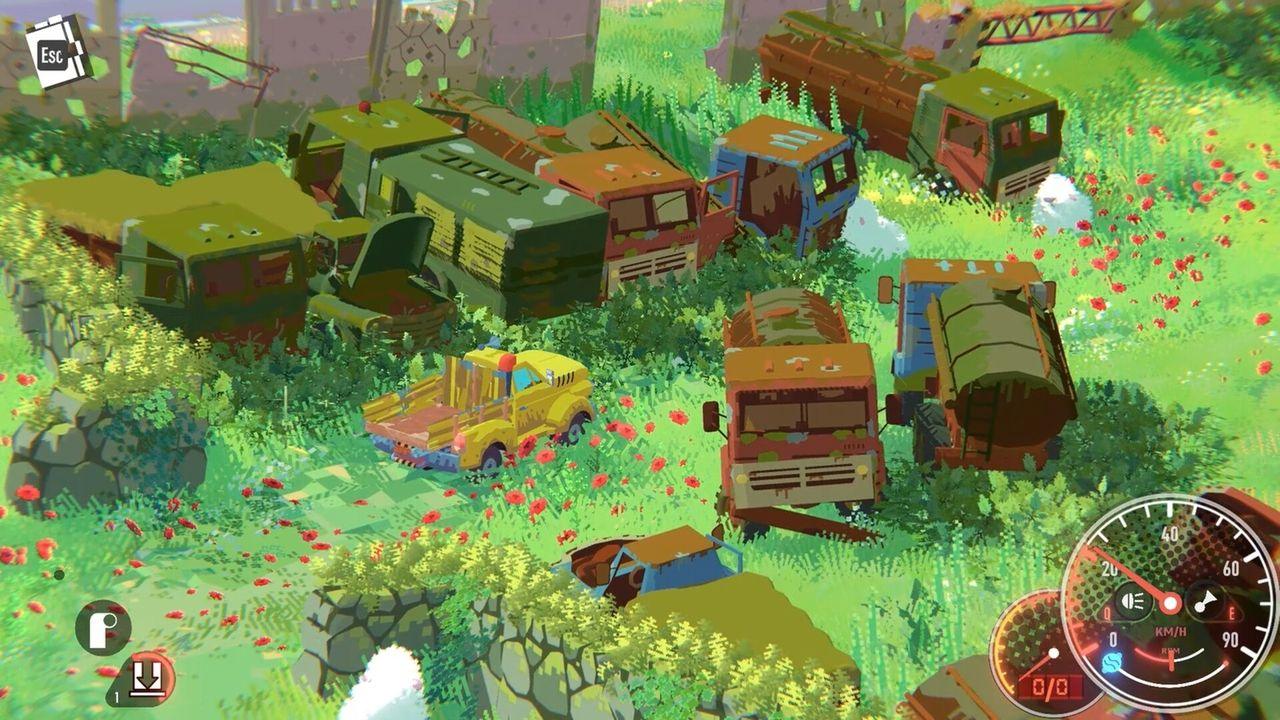
Two currencies, not one. Money comes from completed deliveries; scrap comes from abandoned machinery and recyclable objects found around the valley, and converts into upgrade materials at Red's Scrapyard. The full explanation, including what to spend first, is on the scrap and money page.
Upgrades change the map, not just the truck
Routes are gated by capability: the FAQ says "new routes become accessible as your truck gains upgrades, encouraging discovery instead of one massive sandbox". A route you abandoned in hour one is often the shortest path in hour ten — the valley regions page tracks which areas each capability opens.